Selecting the direction, Switching on and off, Presetting the speed – Parkside PBH 1050 A1 Benutzerhandbuch
Seite 10: Maintenance and cleaning
10 GB
Maintenance and Cleaning / Service / Warranty / Disposal
Start-up / Maintenance and Cleaning
Attaching the quick-release chuck for
round shaft drills:
To attach the additional chuck for round shaft
drills (also see Fig. A) pull back the locking
sleeve
10
and insert the additional chuck.
Release the locking sleeve
10
. This locks the
tool holder. Pull the tool to ensure that it is firm-
ly locked in place.
Removing the quick-release chuck for
round-shaft drills:
To remove the additional chuck pull back the lock-
ing sleeve
10
and remove the additional chuck.
Inserting tools:
RISK OF INJURY! Switch the
device off and unplug from the mains socket before
performing any work on the device.
Setting the function with the
function selector switch
Press and hold the release button for the function
selector switch
6a
and turn the function selector
switch
6
until the desired symbol locks in next
to the arrow.
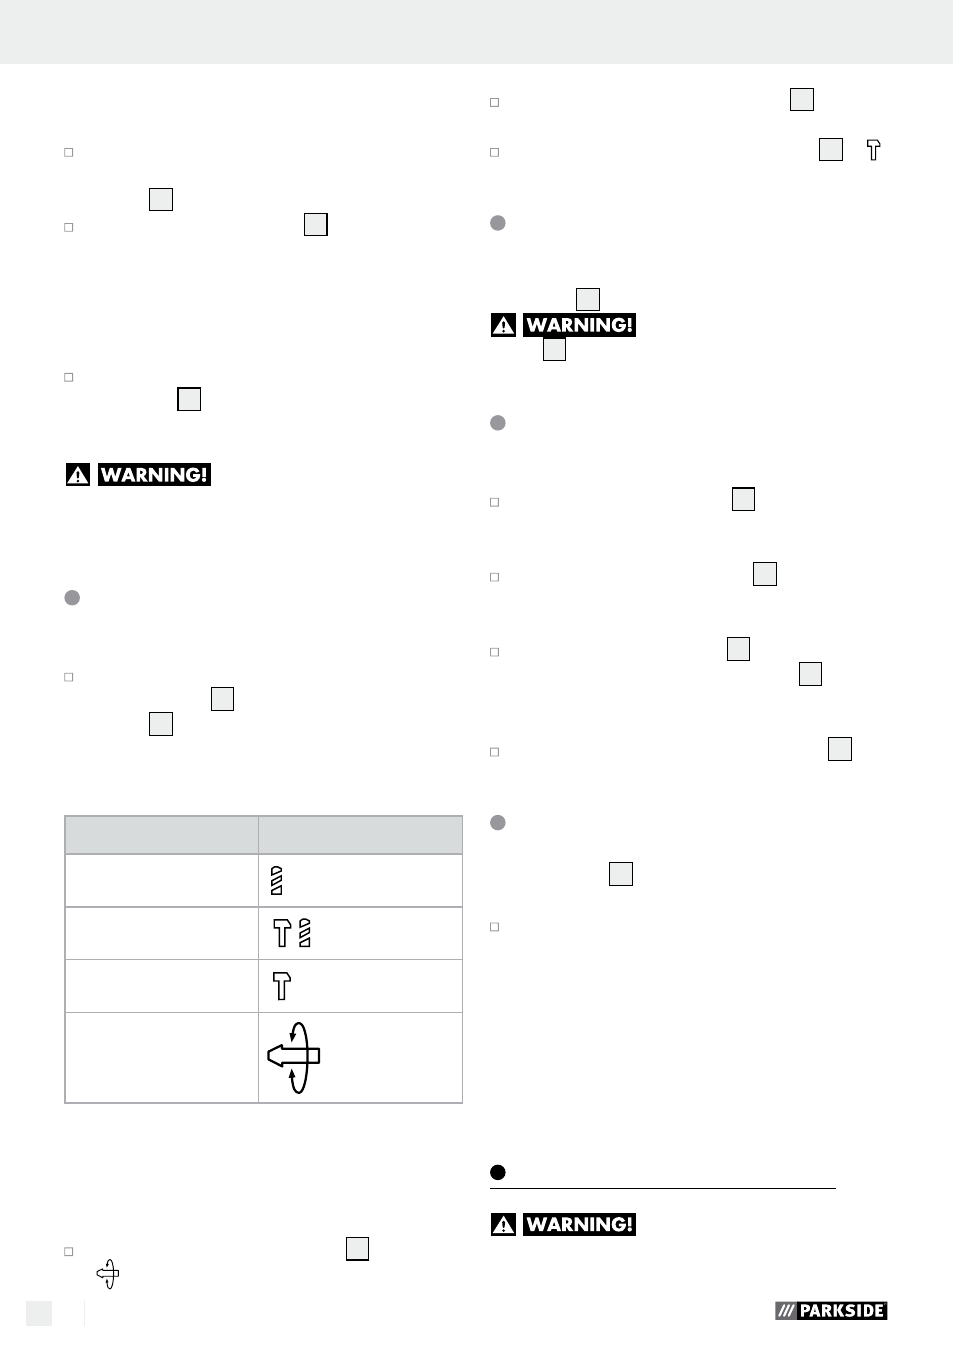
The functions are marked as follows:
Function
Symbol
Drilling / screwing
Hammer drilling
Chiseling
Chisel position
adjustment
Adjusting the chisel position:
This function allows you to turn the tool to the nec-
essary position for chiseling (also see Fig. C, D).
Turn the function selector switch
6
to position
.
Turn the tool inside the tool holder
8
to the
necessary position.
To chisel, turn the function selector switch
6
to .
Selecting the direction
Select the direction of rotation by setting the direc-
tion switch
2
.
Only use / adjust the rotation
switch
2
with the device stopped.
Switching on and off
Switching on the device:
Press the ON / OFF switch
3
.
Switching the device off:
Release the ON / OFF switch
3
.
Activating permanent operation:
Press the ON/OFF switch
3
and lock whilst
pressed using the ON / OFF switch
4
.
Deactivating permanent operation:
Press and release the ON / OFF switch
3
.
Presetting the speed
The speed dial
3a
allows you to adjust the opera-
ting speed to specific speeds.
Which speed is most suitable depends on the
material you will be working on. We recommend
testing the speed to determine the correct setting.
Tip: These two basic rules about speeds
are always helpful:
1. larger bore diameter = lower speed and vice
versa, smaller bore diameter = higher speed
2. hard material = low speed
Maintenance and Cleaning
RISK OF INJURY! Switch the
device off and unplug from the mains socket before
performing any work on the device.