2 dismantle appliance – Silvercrest SKMP 1200 A2 Benutzerhandbuch
Seite 10
8
2. To fit the mixing bowl 16, insert it in the
base unit 7.
3. Lock the mixing bowl by rotating it
slightly anti-clockwise until it engages.
Caution!
Never use the mixing bowl 16 without the
splash guard 8 in position. Otherwise food
might be ejected.
4. Fit the splash guard 8 onto the drive
arm 1 from below. The filling opening
with flap 9 should point towards the
speed controller 4 .
5. Press on the splash guard 8 until it
engages.
6. Select the appropriate attachment:
Dough hook 13: For heavy dough, e.g.
bread dough
Balloon whisk 14: For whipping cream,
beating egg whites, etc.
Beater 15: For medium to light dough/
batter, e.g. batter for (pan)cakes.
7. Fit the attachment into the appropriate
opening in the drive arm 1 from below.
When doing so, make sure that the little
lugs on the shaft of the attachment are
inserted into the crosswise slot of the
opening.
8. Press the attachment lightly in and turn
clockwise until it engages.
9. Press the unlock lever 6 and swing the
drive arm 1 down into the working
position.
Note: Press the unlock lever 6 round
fully and hold until the drive arm 1 is
right down. Then swing the unlock
lever 6 back again.
The appliance is now ready to use.
Fitting the blender jug
12
:
Caution!
• Do not use the blender jug 12 and the
mixing bowl at the same time 16. This
might overload the appliance.
1. Press the unlock button 3 for the lid 2 to
the left.
2. Take the lid 2 off.
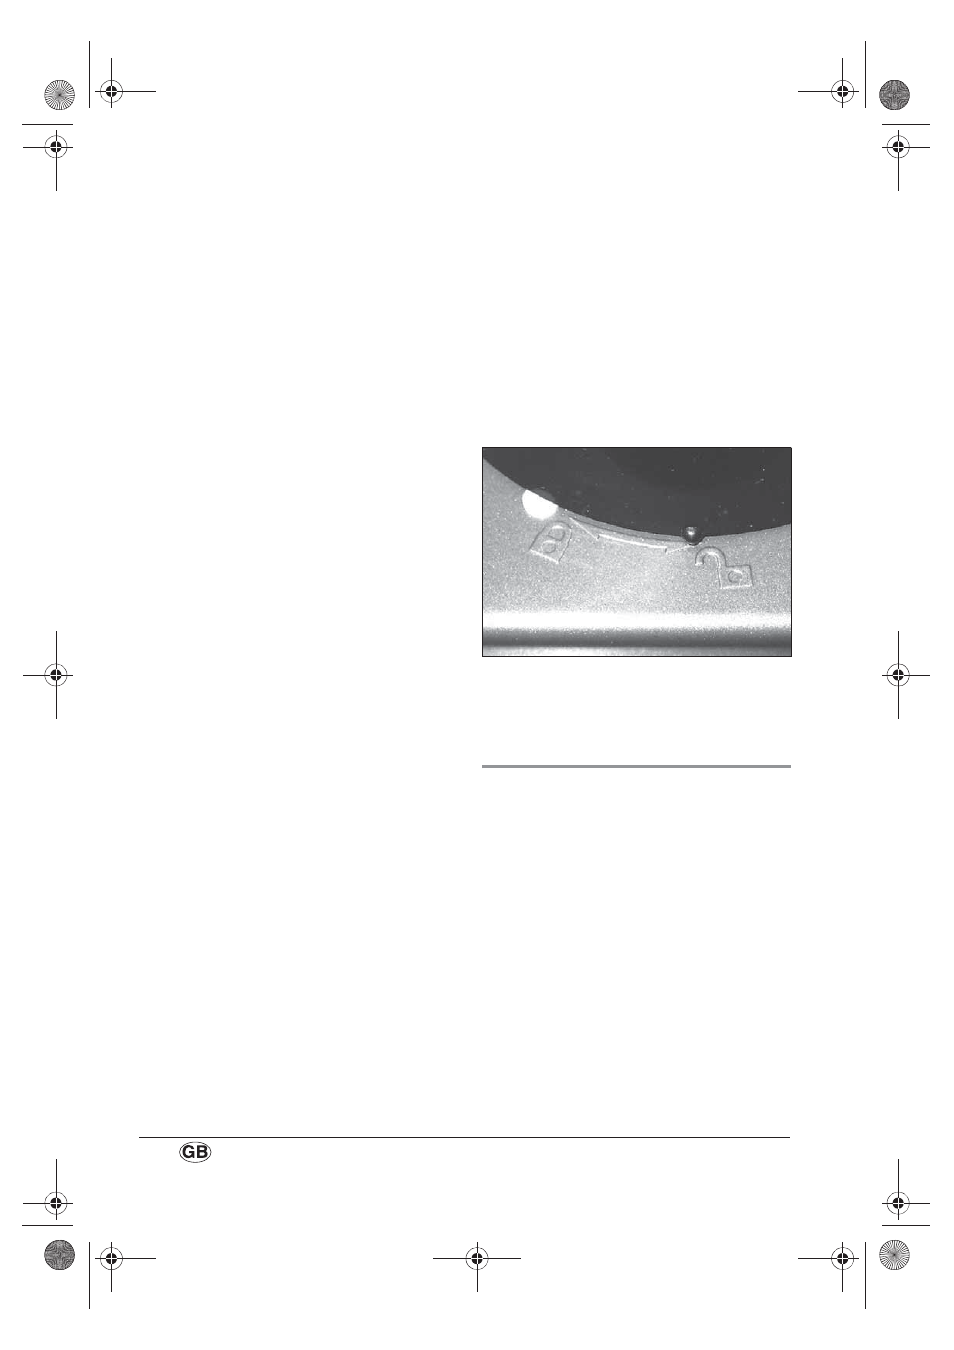
3. Position the blender jug 12 so that the
little nib points to the open padlock
symbol.
4. Turn the blender jug 12 clockwise until it
engages. The little nib is now pointing to
the closed padlock symbol.
6.2 Dismantle appliance
1. Press the unlock lever 6 and swing up
the drive arm 1.
Note: Press the unlock lever 6 round
fully and hold until the drive arm 1 is
right down. Then swing the unlock
lever 6 back again.
2. To remove an attachment, press lightly in
again and unlock by turning
anticlockwise slightly.
3. Remove the attachment.
4. To remove the splash guard 8, pull it
downwards. When doing so, first pull
the splash guard 8 down at the back
slightly.
RP100104-105590 Küchenmaschine LB6so Seite 8 Dienstag, 10. Juni 2014 12:06 12