Preparing for hot lamination, Gb ie – United Office ULGD 350 A1 Benutzerhandbuch
Seite 10
8
ULGD 350 A1
GB
IE
Preparing for hot lamination
♦
Insert the document support
into the two openings under the pouch ejector
slot
, such that it is seated fi rmly on the appliance.
♦
Insert the plug of the laminator into a mains power socket.
♦
Switch the appliance on by placing the selector switch for hot and cold
lamination
5
at "HOT". The red indicator light Power
3
glows.
♦
Place the pouch thickness switch
4
at the corresponding pouch thickness
(see also chapter Switching levels).
NOTICE
►
The attainment of the operating temperature is indicated by the glowing
of the green indicator light Ready
2
. For a more uniform laminating result
we recommend, especially for thinner foils (below 125 Micron), and after
adjustment to a diff erent foil thickness, to fi rst wait an additional 2-3 minutes
before beginning with lamination.
♦
Place the document to be laminated into a laminating pouch of the
appropriate size.
NOTICE
►
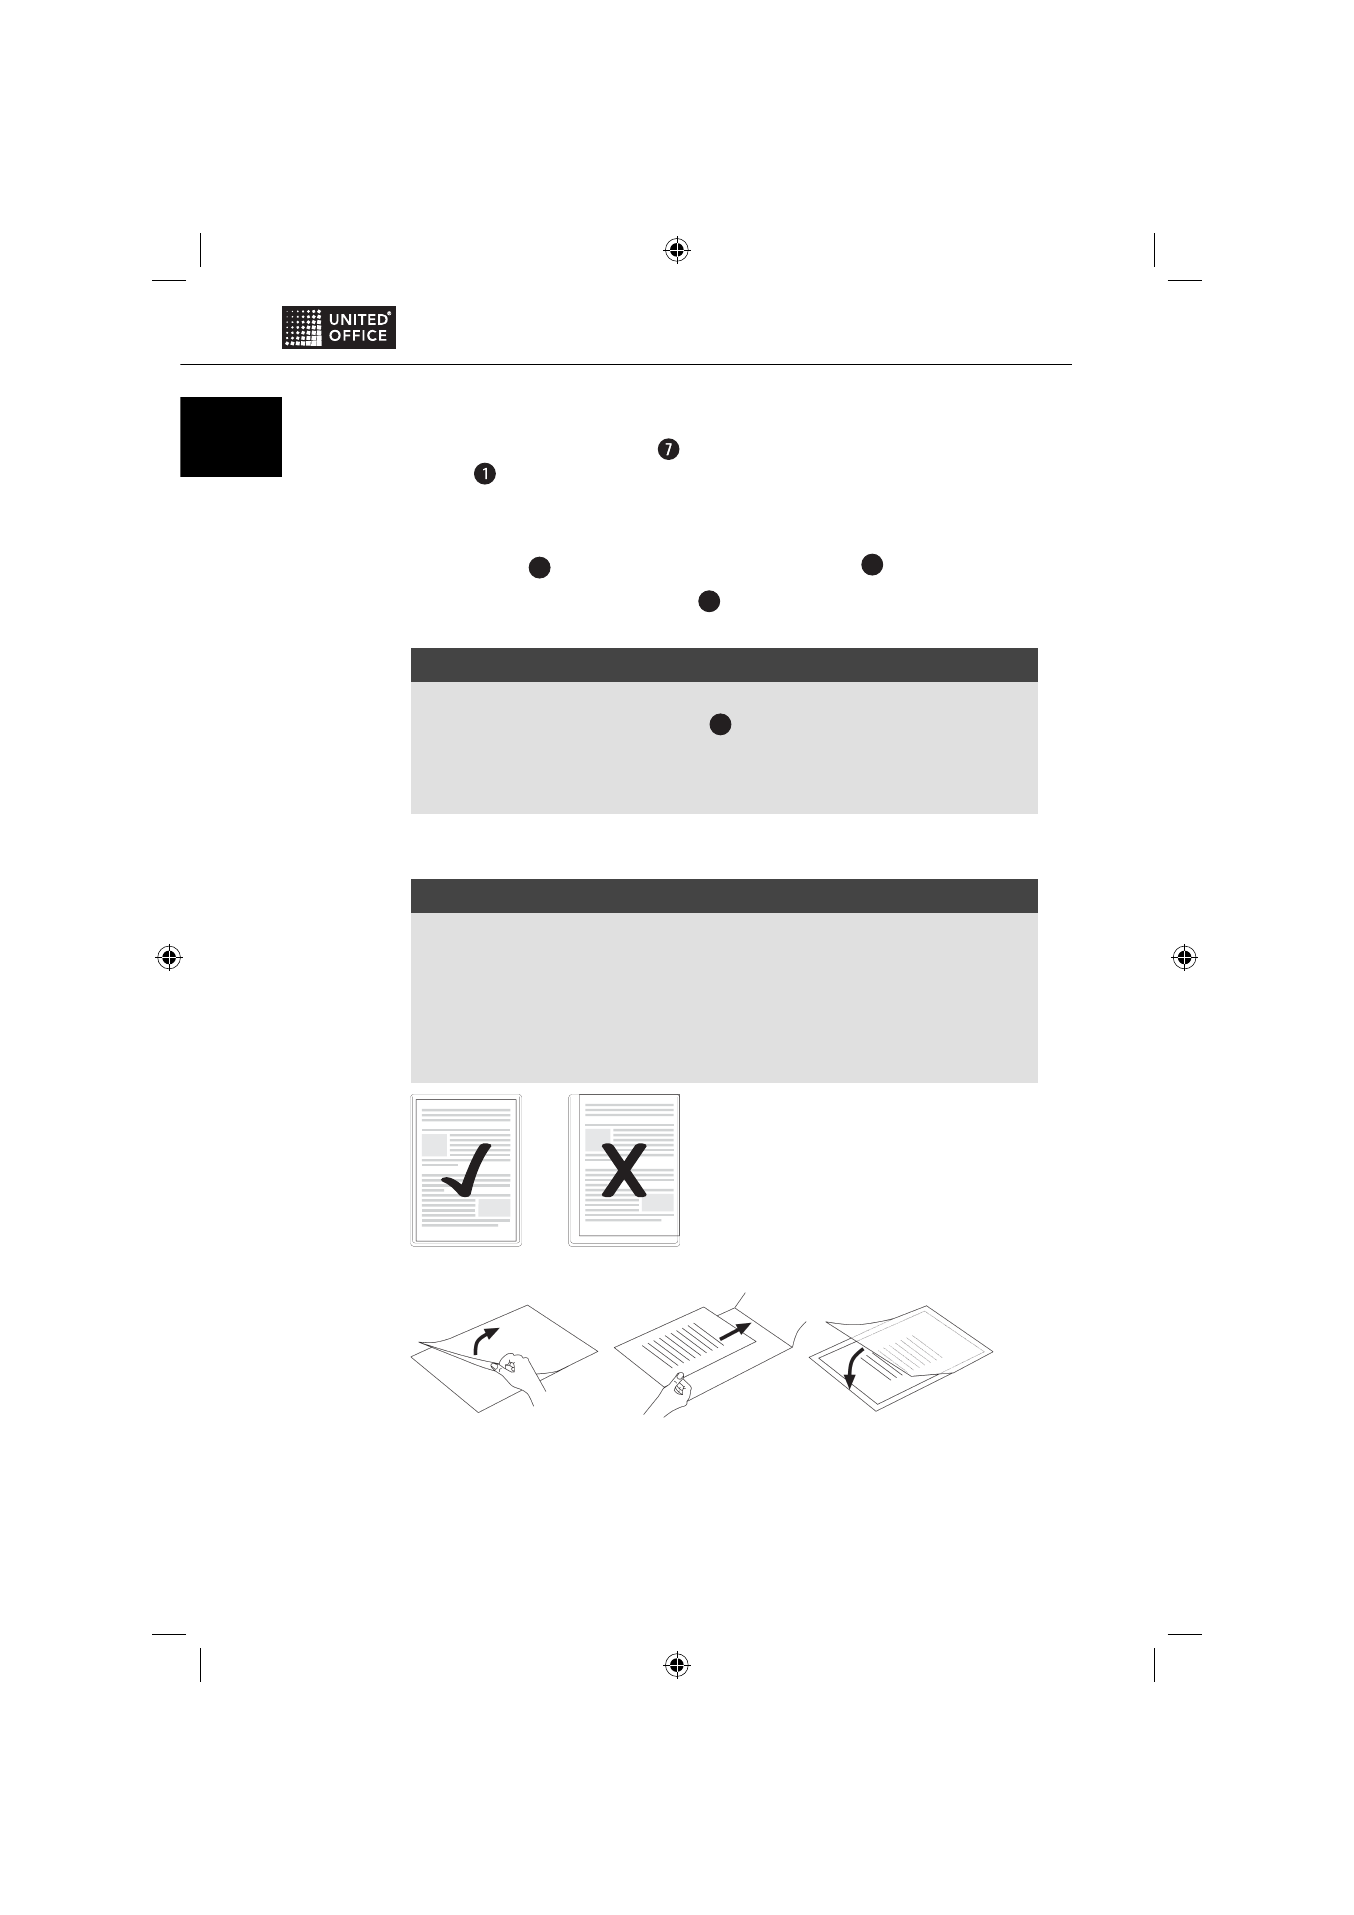
Ensure that all edges of the document have at least two millimetres of
space to the edges of the laminating pouch, as shown in Fig. 1.
►
Ensure that you use only one pouch for laminating. First open it up, as
shown in Fig. 2.
►
For further information about the lamination process, please read the
section Lamination process.
Fig. 1
Fig. 2