Connecting the vacuum sawdust extraction device, Operation, Setting the cutting angle – Parkside PSTK 730 A1 Benutzerhandbuch
Seite 11: Setting the speed, Setting the pendulum action, Switching on / off, Maintenance and cleaning, Maintenance, Cleaning
11
GB/IE/CY
Slide the guide fence
19
into the fence guide
openings
15
.
Retighten the two locking screws.
Q
Connecting the vacuum
sawdust extraction device
Insert the dust extraction spout
7
into the
vacuum extraction duct
8
until it engages.
Connect a vacuum device approved for the
extraction of sawdust and splinters to the dust
extraction spout
7
(see Fig. C).
Q
Operation
Q
Setting the cutting angle
Release the clamp screw
11
using the Allen
key
20
.
Set the cutting angle 0° / 15° / 30° / 45°
(left / right) on the base plate
9
. The embossed
marking for each recessed line indicates the
cutting angle setting. The housing has a stop
pin
21
(see Fig. B) which must engage in the
appropriate recessed line.
Tighten the clamp screw
11
using the Allen
key
20
.
Q
Setting the speed
Set the desired speed using the oscillation
speed setting wheel
4
.
If possible always determine the optimum setting
beforehand by carrying out a practical test.
Q
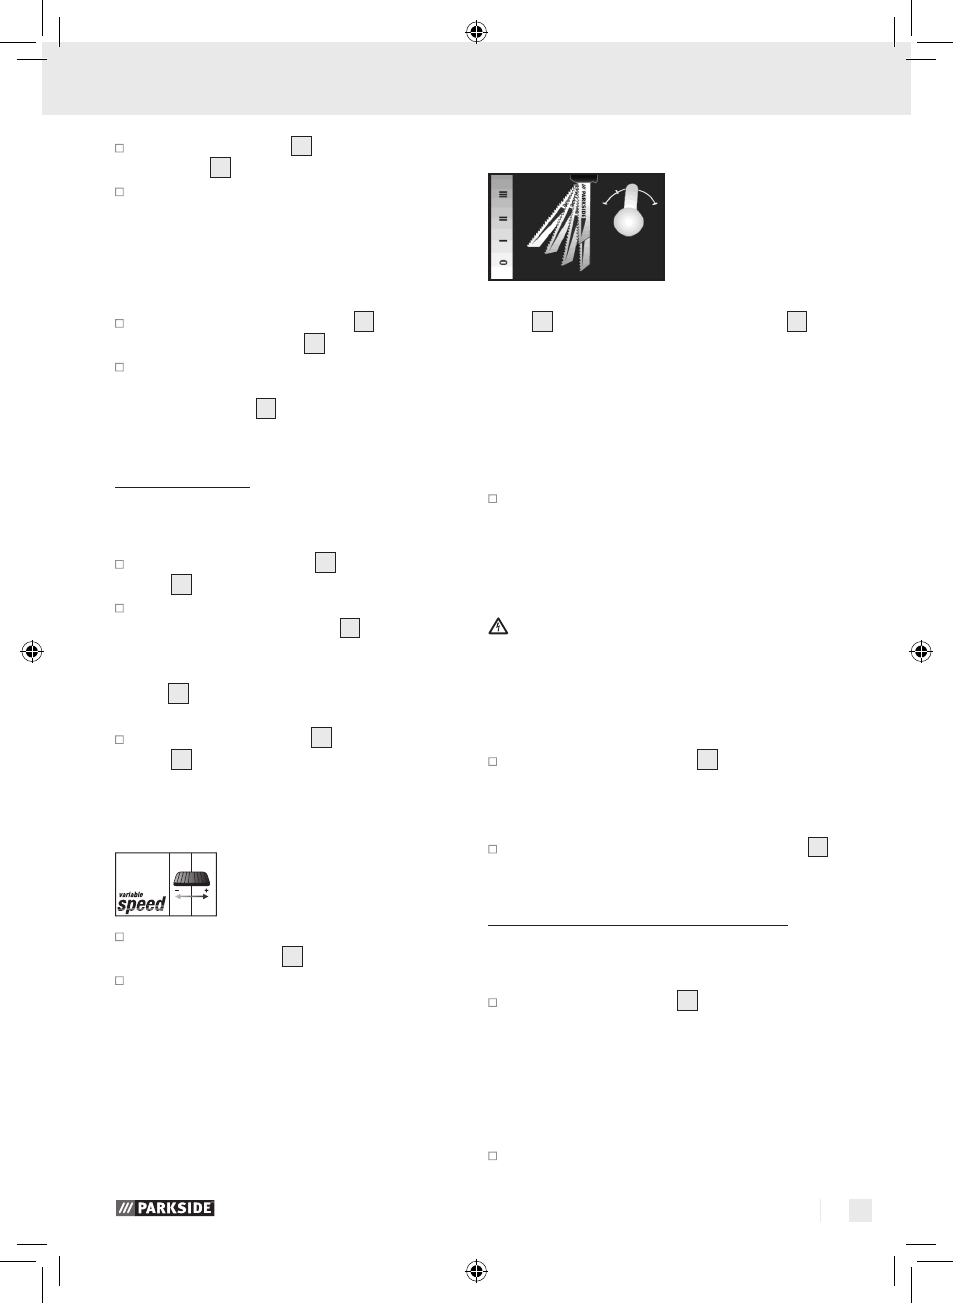
Setting the pendulum action
You can set the pendulum movement of the saw
blade
14
using the pendulum action switch
12
. By
having no pendulum action (setting “0”) you can
produce fine, clean cut edges. Turn off the
pendulum action for thin workpieces.
With the pendulum action activated (settings 1–3)
you can cut through the workpiece at increasingly
quicker rates.
If possible always determine the optimum set-
ting beforehand using a practical test.
Q
Switching On / Off
Before connecting to the mains plug check that
the mains circuit supplies 230 V∼ 50 Hz and is fitted
with a 16 A fuse or cut-out in accordance with the
regulations!
Switching on:
Push the On / OFF switch
2
into position “I”
and ensure it engages.
Switching off:
Press the rear part of the On / OFF switch
2
.
Q
Maintenance and cleaning
Q
Maintenance
Replace the saw blade
14
as soon as its teeth
become blunt and it starts to produce defective
saw cuts.
Q
Cleaning
Carry out that cleaning of the device when you
have finished sawing.
General safety advice for electrical power tools / Preparing for use
Preparing for use / Operation / Maintenance and cleaning
68915_par_Pendelhubstichsaege 730W_Content_GB-IE-CY.indd 11
05.09.11 11:36