Unpacking, setting up and inserting the battery, 1 setting up the appliance, 2 inserting the battery – Silvercrest SHLF 2000 A1 Benutzerhandbuch
Seite 9
SHLF 2000 A1
7
4. Unpacking, setting up and inserting the battery
4.1 Setting up the appliance
Note!
As the appliance and heating coils
are supplied with a thin film of grease, there
might be a
small
amount of smoke and
odour the first time the appliance is used.
This is not harmful and will stop after a short
while. Please ensure meanwhile that there is
sufficient ventilation.
1. Unpack the appliance from the
packaging.
2. Remove the transport packaging.
Note:
There is a piece of corrugated
cardboard positioned between the
appliance and the base
9
. This must also
be removed.
3. Check that the appliance shows no signs
of damage.
Warning!
Ensure that there is
sufficient distance from the wall,
fixtures and other appliances. The
distance must be at least 1.5 m to
exclude the risk of fire.
4. Select a location that complies with the
safety information (see “3.
Safety
information” on page 4).
5. Select a location where the flow of hot
air is not directly aimed at people,
animals or plants.
6. Plug the mains plug into a wall socket
that complies with the technical data.
Note:
The appliance consumes up to
10 amperes of current. If you have
plugged other power consumers into the
same circuit, check that the maximum
load for the installed fuse is not
exceeded, as otherwise the fuse will trip.
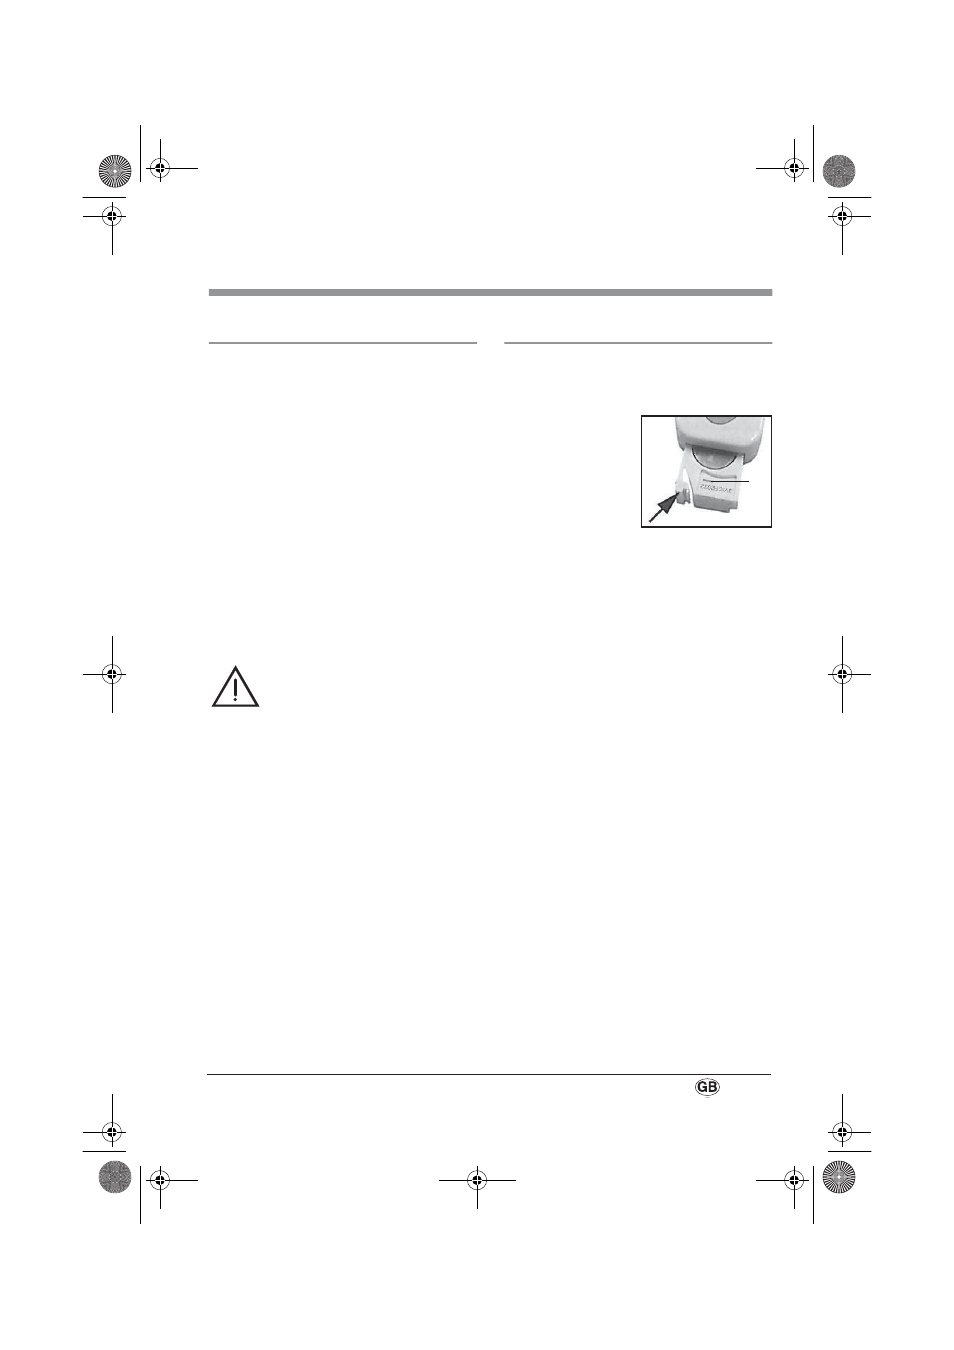
4.2 Inserting the battery
If the appliance is new or the battery in the
remote control is flat, a new type CR2032
battery must be inserted.
1. Press the catch
towards the
middle and pull
out the battery
compartment.
2. Remove the old
battery if present.
Note:
Please observe the instructions for
disposal (see “8.2
Disposable/
rechargeable batteries” on page 11).
3. Insert a new battery.
Note:
Ensure the correct polarity (+/–)
when inserting the battery. The correct
polarity is marked on the battery
compartment.
4. Slide the battery compartment back in
again.
–
RP53439 HL mit FB LB3 Seite 7 Dienstag, 13. Juli 2010 3:05 15