Initial operation – Parkside PHKS 1350 A1 Benutzerhandbuch
Seite 10
7
PHKS 1350 A1
GB
IE
CY
WARNING! Protect yourself from laser
radiation!
LASER RADIATION
DO NOT STARE INTO BEAM
CLASS 2 LASER PRODUCT
P max.: < 1 mW
λ: 650 nm
EN 60825-1: 2007
This appliance contains a Class 2 laser.
►
NEVER direct the laser beam at people or
animals.
►
NEVER look directly into the laser beam.
The laser beam can cause serious eye damage.
►
Do NOT direct the laser beam at strongly
refl ective material. Refl ected laser beams are
also dangerous.
►
Any adjustment intended to increase the
intensity of the laser beam is forbidden.
There is a risk of personal injury!
►
No liability will be accepted for damage
resulting from manipulation of the laser
equipment or from disregarding these safety
instructions.
Changing the batteries:
■
Open the cover of the battery compartment
with a suitable Philips screwdriver.
■
Remove the spent batteries.
■
Insert two new 1.5 V alkaline button cells (type
AG 13/LR 44, e.g. GPA 76) observing the
correct polarity and screw the battery compart-
ment cover fi rmly closed.
CAUTION!
If operating and adjustment equipment is used or
procedures other than those specifi ed here are
carried out, this may result in hazardous radiation
exposure.
Original accessories/additional
equipment
■
Only use the accessories and additional equip-
ment that are specifi ed in the operating instruc-
tions and are compatible with the appliance.
Initial operation
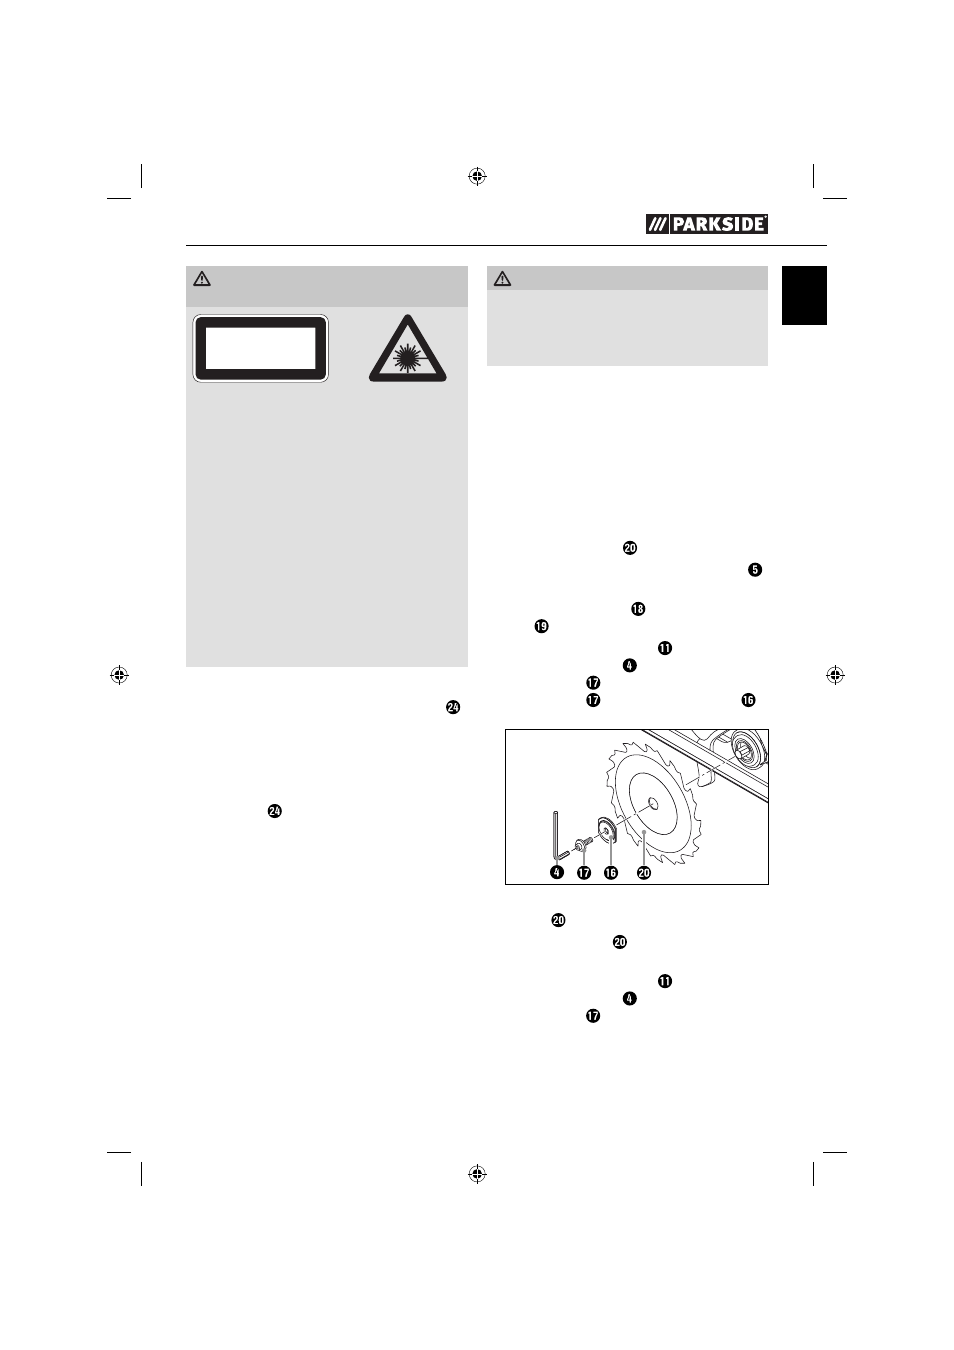
Fitting/changing the saw blade
Always pull out the plug from the mains before
changing the saw blade !
1. Set the cutting depth (using the locking screw )
to the minimum position, 0 mm.
2. Swing the blade guard back using the release
lever and put the device down.
3. Press the spindle lock button (until it engages)
and use the Allen key to release the clamping
screw/washer . Now remover the clamping
screw/washer and the clamping fl ange
(see also Fig. A).
Fig. A: Changing the saw blade
4. Remove saw blade.
5. Fitting a saw blade is carried out in the
reverse order.
6. Press the spindle lock button (until it engages)
and use the Allen key to tighten the clamping
screw/washer .
IB_36453_PHKS1350A1_LB6.indb 7
IB_36453_PHKS1350A1_LB6.indb 7
28.04.14 08:36
28.04.14 08:36