Charging the battery, Getting started – Powerfix PLS 10 A1 Benutzerhandbuch
Seite 24
Powerfix PLS 10 A1
22 - English
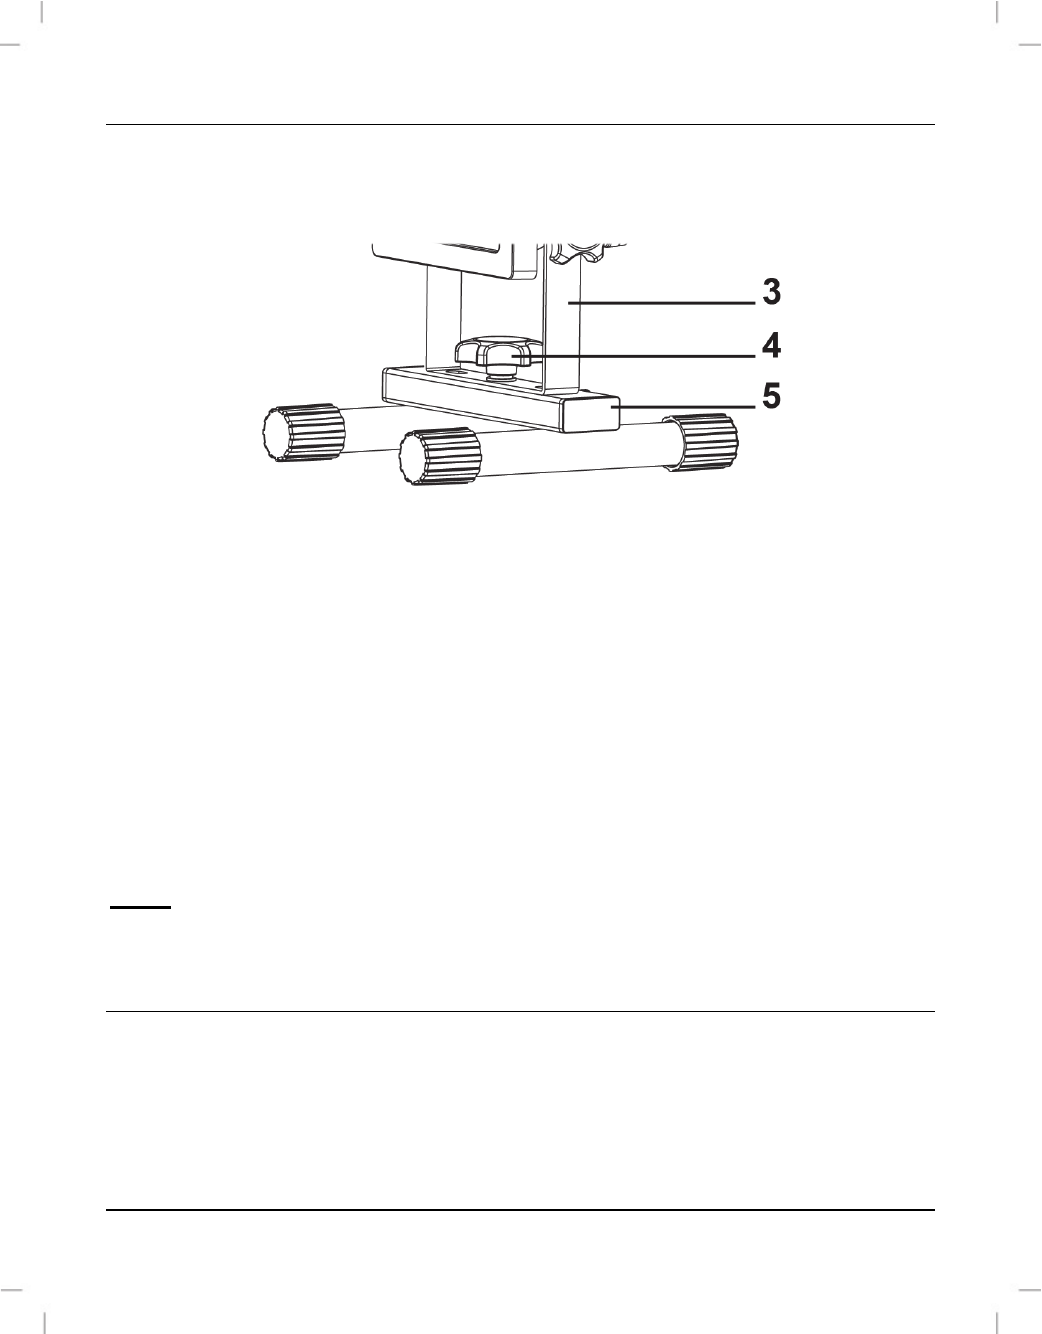
mounting bracket (3) from the top into the thread of the stand (5) and rotate it clockwise (see
the figure). Tighten the knurled screw (4) so the mounting bracket (3) firmly fixes to the
stand (5).
Charging the battery
The DC-IN socket (8) is protected against humidity with a rubber cover (7). To release this
rubber cover (7), pull the red latch. Then connect the wall plug battery charger (B) charging
plug to the battery LED emitter (A) DC-IN socket (8), and connect the wall plug battery
charger (B) to an easy-accessible mains outlet. Before using the device for the first time, fully
charge the built-in Li-Ion battery. During charging, the charge indicator (6) lights red. When
the built-in Li-Ion battery is fully charged, the charge indicator (6) changes to green. Unplug
the wall plug battery charger (B) from the mains outlet and then disconnect the wall plug
battery charger (B) plug from the DC-IN socket (8). Close the DC-IN socket (8) with the
rubber cover (7). Now the battery LED emitter (A) is ready for use.
Note: If the charge indicator (6) flashes in red while using the battery LED emitter (A), the
built-in Li-Ion battery is almost empty. In this case, recharge the battery.
Getting started
You can use the two knurled screws (10) to adjust the vertical angle and therefore the beam
of the battery LED emitter (A). Release the knurled screws (10) by rotating them 360 degrees
counter-clockwise. Next adjust the vertical angle of the battery LED emitter (A) according to
your needs. Then tighten the two knurled screws (10).