2 assemble appliance – Silvercrest SPM 200 A1 Benutzerhandbuch
Seite 10
8
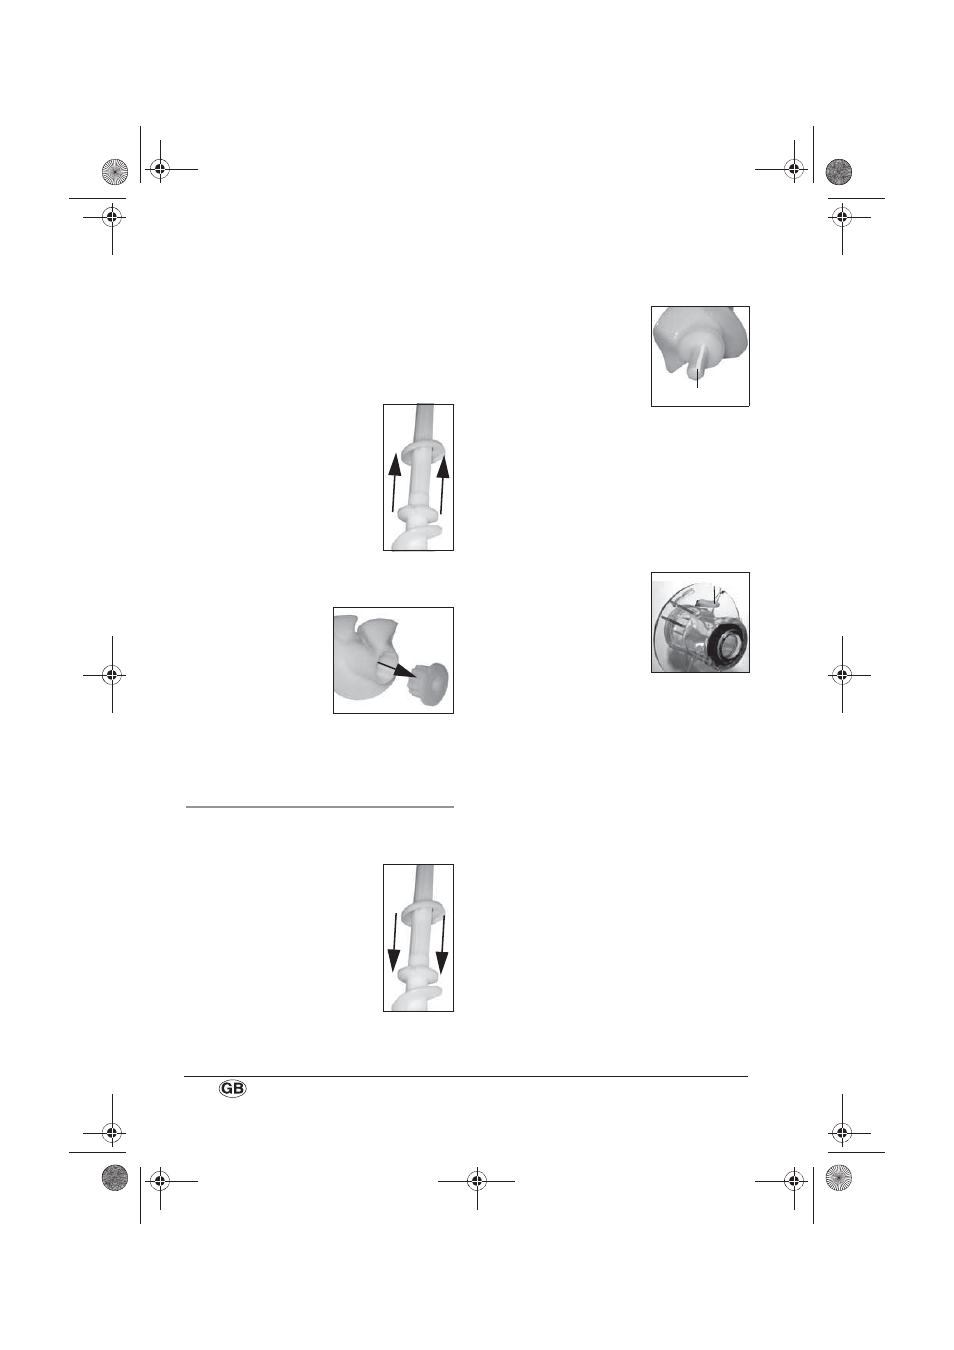
Note: There are two lugs on the front
edge of the lid. Pull these forward
slightly, lifting lid 1 as you do so, lift it up
and then take it off.
6. Turn screw housing 9 anticlockwise and
remove it.
7. Remove screw 11 from screw housing 9.
8. Take screw ring 10 off
screw 11.
9. Take kneader 8 out of dough
compartment 6.
10.Take toothed
sleeve
7 off
kneader 8.
11. Take dough compartment 6 off motor
housing 3.
6.2 Assemble appliance
1. Put dough compartment 6 in motor
housing 3.
2. Push screw ring 10 onto
screw 11. Make sure that
the screw ring engages
correctly.
3. Put screw 11 in screw housing 9.
4. Push kneader 8 onto the shaft of
screw 11.
Note: The shaft of
screw 11 has a notch, A,
with the result that
kneader 8 only fits in one
position.
5. Push toothed sleeve 7 onto the shaft of
screw 11.
Note: The shaft of screw 11 has a
notch, with the result that toothed
sleeve 7 only fits in one position.
6. Push screw housing 9 assembled with
screw 11 and kneader 8 into dough
compartment 6.
Note: On the inside of
screw housing 9 is an
extension B which has to
face upwards when put in
so that screw housing 9
can be latched correctly.
7. Push screw housing 9 gently against
dough compartment 6 and latch it by
turning it clockwise until it engages.
8. Check that dough compartment 6 is
correctly located in motor housing 3.
9. Hold lid 1 at an angle and guide it into
lid locator 2 .
10.Push lid 1 down until it is correctly
located on dough compartment 6 and
audibly engages.
Note: The safety switch which allows
the appliance to operate is activated
only if the lid is correctly engaged.
A
B
RP89212 Pasta Maker LB6so Seite 8 Mittwoch, 29. Mai 2013 5:17 17