Scancontrol 1612 – JB-Lighting Scan Control 1612 Benutzerhandbuch
Seite 40
ScanControl 1612
- -
40
The display will show a notice of acknowledgement which has to be confirmed by pressing the button
YES. Please confirm the following question also with by pressing the button YES. Now you have to
enter the quantity of fixtures by pressing the buttons 1-16 (in our example mentioned above the button 3
for 3 fixtures).
After that you will be asked to reset also the sequences of PAR. Answer this question by pressing the
button YES if you want to reload the sequences and press the button 1-16 for your used PAR-channels
(in the example mentioned above the button 4).
Edit shutter sequences
→
Edit Sequenz
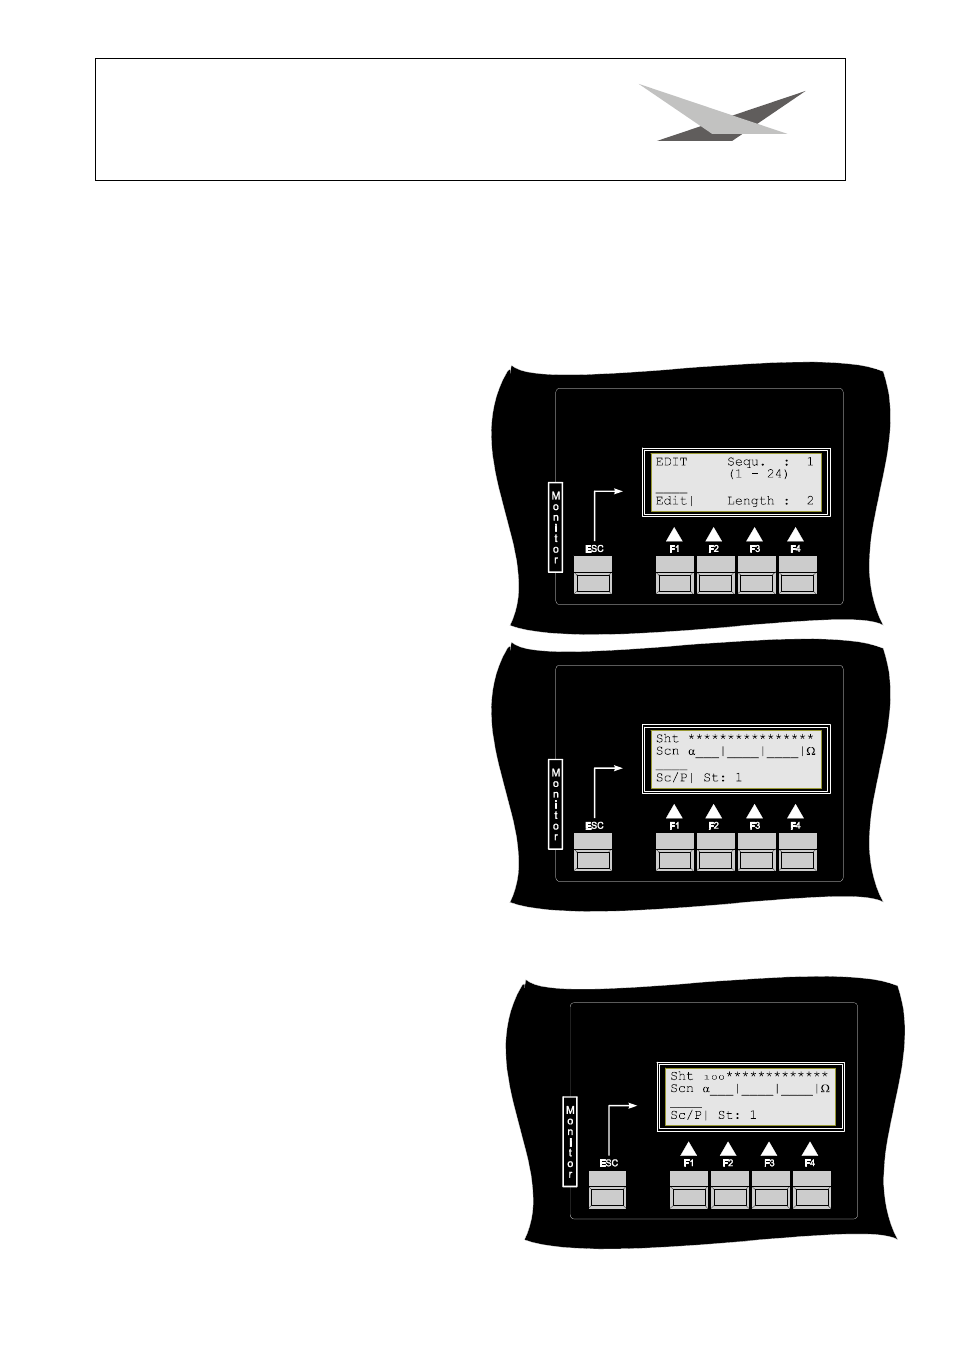
Select ESeq in the main menu. Then select the
shutter sequences, you want to use, by pressing
the buttons 01-24. Sequences 1 to 6 are
preprogrammed.
If you want to edit a custom made sequence press
one of the buttons 7 to 24.
For example, select shutter sequence No. 7 with
button 7. Subsequently, you have to enter the
length of the shutter sequence. For example, you
edit a shutter sequence with 3 steps for fixture 1-
3. Unit 1-3 should show a beamof light, one after
the other (chase-sequence). By shifting the
joystick you adjust a length of 3 steps.
Subsequently, you press the button Edit (F1).
The display will show a list of all fixtures with their
shutter values. There are 3 different conditions a
shutter can have during a shutter sequence:
1.
star
unit does not participate in shutter sequence
2.
0
shutter of unit is closed
3.
1
shutter of unit is open
You can change conditions of a scan with buttons
1-16.
Step 1:
To program a chase sequence, address the first
shutter-button to 1, the second shutter-button to 0
and the third one to 0, as well. Press button 1 until
the display shows figure 1 for the shutter of the first
unit and press buttons 2 and 3 until the display
shows figure 0 for the shutters of the other fixtures.
Step 2:
Insert step No.2 by shifting the joystick. Set the first
shutter to 0, the second one to 1 and the third one to
0. Press buttons 1 and 3 until figure 0 is shown on
the display for the shutters of these fixtures and
press button 2 until figure 1 is shown on the display
for the shutter of the second unit.