Scancontrol 1612 – JB-Lighting Scan Control 1612 Benutzerhandbuch
Seite 41
ScanControl 1612
- -
41
Step 3:
Insert step No.3 by shifting the joystick. Set the shutter of the first and second unit to 0, the shutter of the
third unit to 1. Press buttons 1 and 2 until figure 0 is shown on the display for the shutters of fixtures 1
and 2, and press button 3 until figure 1 is shown on the display for the shutter of the third unit.
If you shift the joystick to the right respectively to the left, each step of the sequence will appear. With the
LEDs on the buttons 1-24 on one hand and the changing figures on the display for the shutters of each
scan on the other hand, you can follow each step of your edited shutter sequence.
By carrying out steps 1-3 you edited a shutter sequence. Press the ESC- button several times to get
back to the main menu.
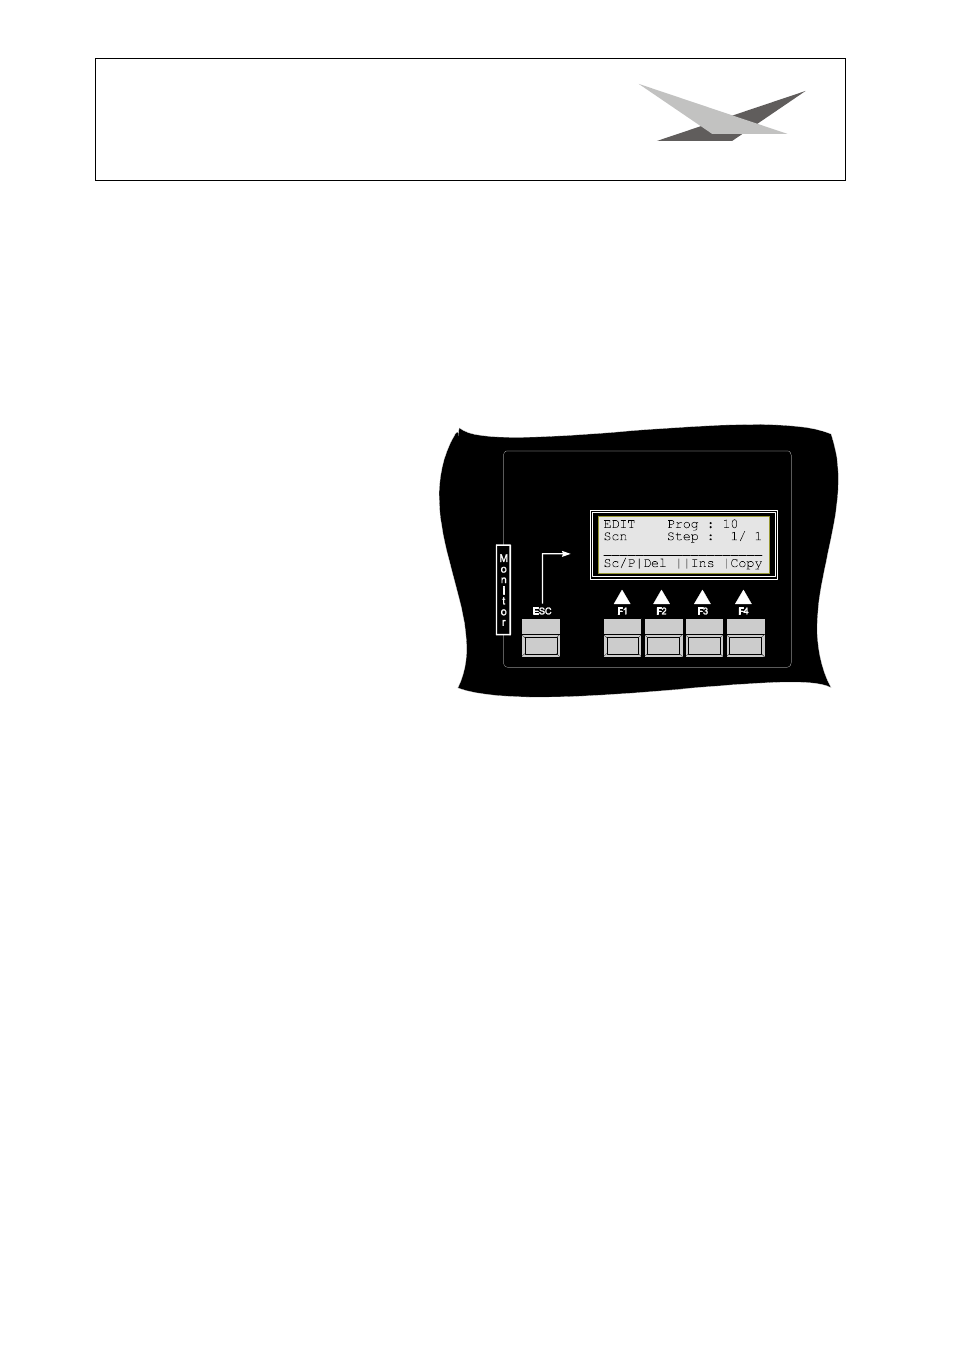
Edit programs and scenes
Change to the edit-mode of the desk, by
pressing the Editpicture- button. Now, you
have the possibility to select one of 24
programs you want to edit by shifting he
joystick upwards respectively downwards.
For example, select program 10. Referring
to the example mentioned above (see
chapter
"Configuration of Connected
Appliances") there is a configuration of 3
fixtures and 4 PAR 64. By pressing button
Scan/Par (F1) you can choose whether
you want to work with fixtures or dimmer-
channels. Press button Scan/Par (F1) until
Scn is showed in second line of the
display. You can activate the fixtures you
want to work with by pressing the buttons 1 – 16.
Scene No. 1
You selected program No. 10 before and now you should see on the right side of your display in the first
line Prog 10, and in the second line Step 1/1 (i.e. picture 1 of 1 in program No. 10). If your display
diverges from this, please adjust by shifting the joystick (up/down) program No. 10 and by shifting the
joystick (left/right) picture 1/1. Now you are able to program picture 1.
Selection of Fixtures
Press buttons 1, 2 and 3 one after the other to select 3 fixtures at first (LED on the button is on).
Subsequently, you can program all parameters of the three selected fixtures one after the other.
Selection of parameters
Press button x/y (button in the section features) and move the mirror of the three fixtures to a certain
position by shifting the joystick. Subsequently, press the Gobo-button in order to select one of the gobos
from 1-24. Proceed in the same way to select colours and effects. Press the button colour respectively
effect and select one of the colours respectively effects with buttons 1-24. Next, you press the button iris
to adjust the beam size of the unit. For this shift the joystick to the left respectively to the right. Proceed
likewise concerning the attributes G-Rot (gobo rotation), special 1 (special channel 1
→
is not occupied
for the fixtures, described in the example), special 2 (special channel 2
→
is not occupied for the fixtures,
described in the example), special 3 (special channel 3
→
is not occupied for the fixtures, described in
the example) and dimmer. The last remaining parameter that has to be programed, is the shutter.
Therefore press the button shutter. Now, you have the possibility to open or to close the shutter of a unit
by pressing buttons 1-16. The condition of the shutter is showed on the display by figure 0 (closed) or
figure 1 (open) and, in addition, the condition of the shutter is indicated by the LEDs corresponding to
each unit.