Scancontrol 1612 – JB-Lighting Scan Control 1612 Benutzerhandbuch
Seite 42
ScanControl 1612
- -
42
Shuttersequences
If you press the shutter button once more, you can select one of the internal controller shutter sequences
by pressing on of the buttons 1-24. By shifting the joystick you can adjust the speed of this shutter
sequence. If you want to switch off the shutter sequence, you have to press the button corresponding to
the selected sequence once more (for example: shutter sequence 3 is activated, press button 3 once
more).
Preprogrammed moving patterns
If you want to use one of the
preprogrammed moving patterns select
the desired number of fixtures, and press
the corresponding button in the section
movement. The moving pattern will be
showed on the display. To adjust speed
respectively size, press button speed
respectively size and select the desired
values. The values for speed and size will
of course be showed on the display. The
button phase enables you to postpone the
starting point of each unit. This enables
you to create a multitude of effects, like
waves ect.
You should program these data for each
unit individually to realize an effect. To be
able to select one of the three fixtures, you have to make sure that none of the buttons in the section
feature respectively movement is activated (LED on all buttons should be off). If a feature is activated,
press this button until LED switches off. Then select fixtures with buttons 1-16. All fixtures activated will
be marked by corresponding LED lit. To deactivate a fixture, just press the corresponding button once
again, till LED switches off.
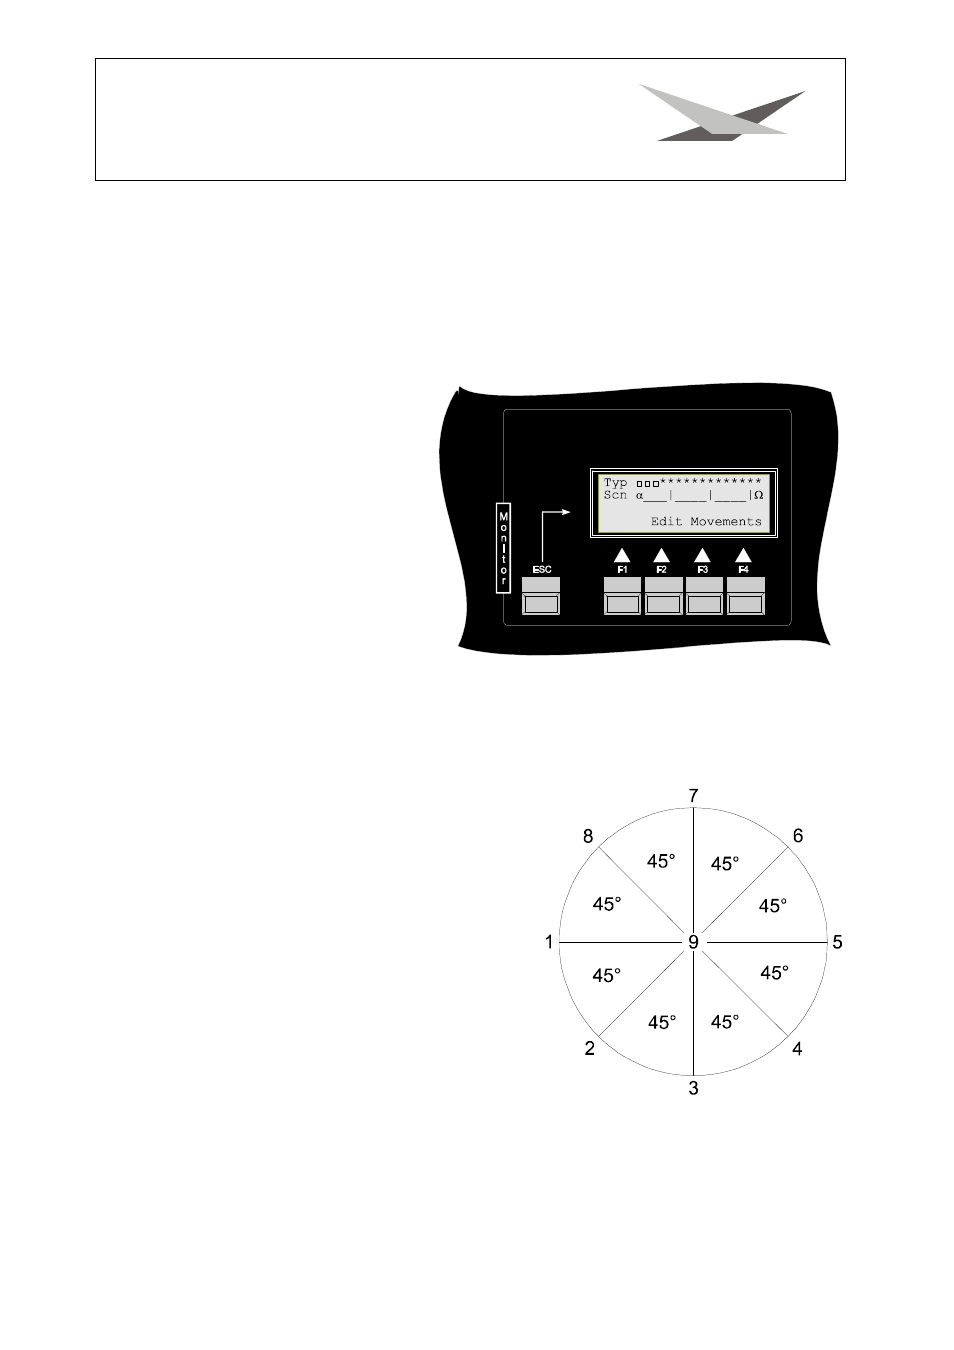
To adjust a postponement for a preprogrammed moving
pattern (postponements are possible for preprogrammed
moving patterns only) for the three scans in the example
mentioned above, select scan No. 1, press the button phase
and select a postponement angle by pressing one of the
buttons 1-8. Each of the 8 buttons corresponds to an
additional postponement of 45°. The proceeding for scan 2
and 3 is the same as for scan 1, i.e. you select scan 2
respectively 3 (before you do this, you have to inactivate
phase function), now activate phase function and select a
postponement angle by pressing one of the buttons 1-8. In
order to let the beam of fixtures move on a circular line one
after the other, you have to level the beam of fixtures to one
spot (see illustration
àNo. 9), subsequently you select the
function circle with the Move buttons. Now the beams of all
fixtures move circular on one spot. To let them move one
after the other, you assign different postponements for the
fixtures and their position will shift as the illustration above
shows. The button inverse in the section movement enables you to fix the direction of preprogrammed
moving patterns for selected fixtures. To stop the automatic movement for selected fixtures press the
button stop.